

Cast iron is one of the best-value tools in the kitchen. It holds heat steadily, goes from stove to oven to grill, and a well-kept pan gets better with age. It isn’t fussy; it just has a few rules, and they all come down to one thing: keep the seasoning intact and the iron dry.
What seasoning really is
Seasoning is not oil soaking into the metal. When a thin film of oil is heated well past its smoke point, its molecules link together and harden into a smooth, slick, dark coating that bonds to the iron. This is called polymerising. Each baked layer adds a little more, so the pan goes from dull grey to brown to glossy black.
Why thin matters
A thick coat of oil can’t harden evenly. The surface cures while the oil underneath stays soft, and you end up with a sticky, tacky or flaky pan. Many thin layers beat one thick one.
How to season a pan
- Scrub it clean. For a new unseasoned pan or a rescue job, use hot water and a stiff brush. Soap is fine at this stage.
- Dry it completely. Warm it on a burner for a few minutes until every drop is gone.
- Rub on a very thin coat of Neutral oil (canola, grapeseed, or other high-heat vegetable oil) over the whole pan, inside, outside and handle.
- Wipe it all off with a clean cloth, as if you were trying to remove it. What’s left looks dry. That’s right.
- Bake it upside down on the oven’s middle shelf, with a sheet of foil on the rack below, at 450-500°F (230-260°C) for 1 hour. Upside down means any excess drips off instead of pooling.
- Let it cool in the oven. Repeat steps 3-6 three or four times for a good base.
Cooking in the pan, especially searing and frying, builds the coating further than any oven session.
Daily care
- Preheat the pan before adding food, and use enough fat. Cast iron needs a little oil to release food, especially when it’s new.
- Go easy on metal tools in a new pan. Wooden or silicone ones protect a young seasoning. A metal spatula is fine once the coating is established.
- Wash it while it’s warm with hot water and a brush or scraper. Mild dish soap is fine with modern pans; the old ban on soap came from lye-based soaps that no longer exist.
- Dry it on the burner for a minute until the water is gone.
- Wipe on a drop of oil with a cloth and buff until it looks dry. Hang it or store it with a paper towel inside to catch moisture.
What to avoid
- Long soaks and leaving it wet in the sink. Water is how rust starts.
- The dishwasher. It strips the seasoning and leaves rust behind.
- Simmering acidic sauces for a long time (tomato, wine, vinegar, lemon) in a pan that’s still young. They can dull the seasoning. A quick pan sauce is fine.
- Cold water on a hot pan. A big temperature shock can crack cast iron. Let it cool a little first.
Problems and fixes
| Problem | Why | Fix |
|---|---|---|
| Rust spots | The pan stayed wet, or was soaked | Scrub to bare metal with steel wool, rinse, dry well, then reseason |
| Sticky or tacky surface | Oil was applied too thickly and didn’t cure | Bake it again at 450-500°F (230-260°C) for an hour; if it stays tacky, strip and redo |
| Flaking black bits | Thick, uneven layers that are lifting | Scrub off the loose parts, then reseason in thin coats |
| Food sticks | The pan wasn’t hot enough, or the seasoning is thin | Preheat longer, use more fat, and keep building layers |
| Grey, dull patches | The seasoning has worn off, often from acid or scrubbing | Reseason, then cook something fatty |
| Metallic taste | Fresh rust or bare iron | Scrub, dry, reseason |
| Smoking oven after seasoning | Too much oil | Wipe the oil nearly all off next time |
To strip a pan completely, scrub it with steel wool and hot soapy water until you see bare grey iron, dry it at once, and start the seasoning process over.
Which kind of pan
| Type | What it’s like | Care |
|---|---|---|
| Vintage | Older pans often have a smoother, thinner casting | Usually just need a good cleaning and a reseason |
| Modern pre-seasoned | Rougher surface, ready to use out of the box | Add a few extra layers at home for a better finish |
| Enameled | Glass-like coating, any colour | No seasoning needed. Don’t use metal tools, don’t heat it empty, and wash it like any pot |
Best uses
- On the stove: steaks and chops (see Searing), fried chicken, shallow-fried potatoes.
- In the oven: cornbread, a skillet cake, roasted vegetables, a big pan of braised chicken thighs.
- On the grill: a preheated pan over the fire for smash burgers, a charred vegetable mix, or a sizzling platter of sausages. It’s also the best way to get a hard sear when the grates aren’t cooperating.
Try it: recipes with steak
See all →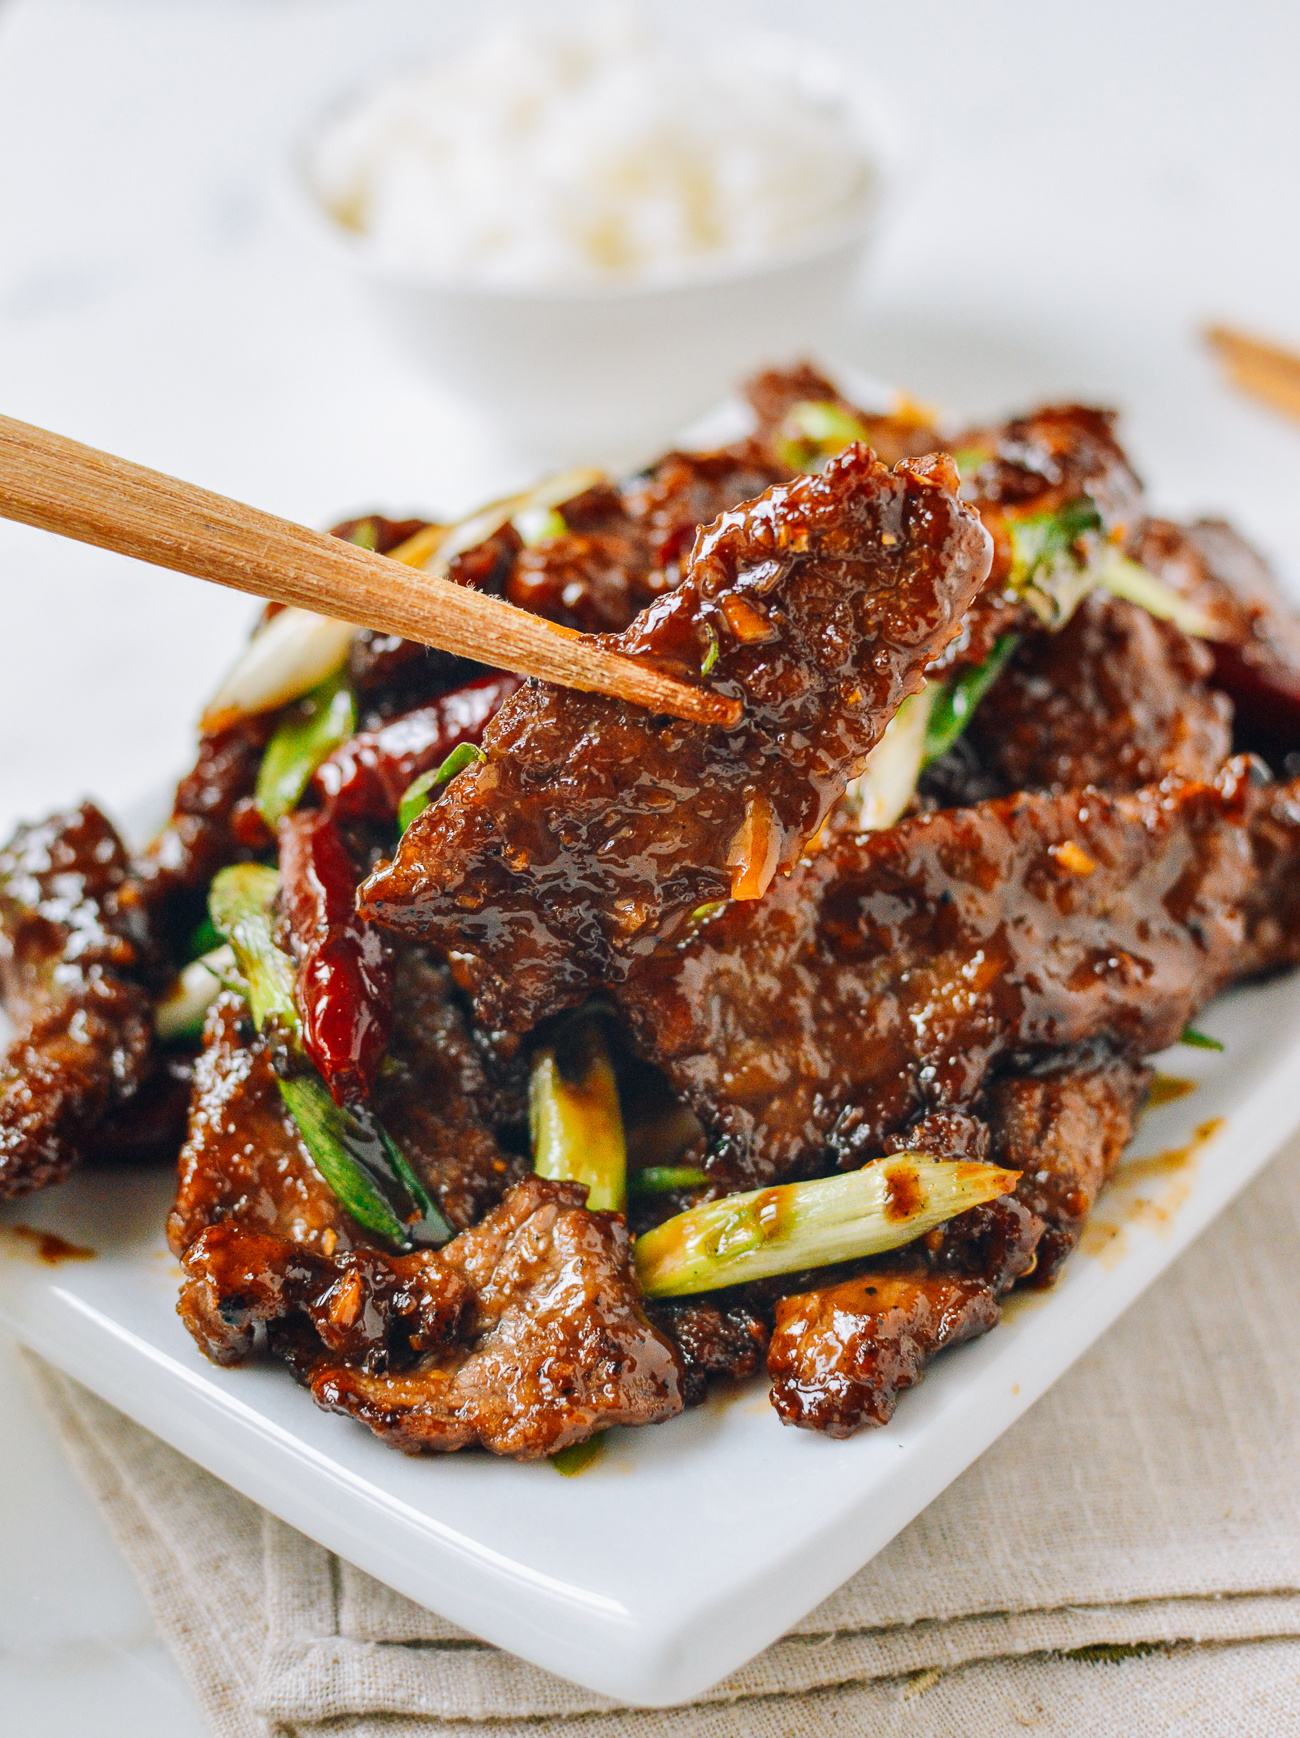


Hot handles
Cast-iron handles get as hot as the pan, in the oven and on the grill. Keep a dry oven mitt or a handle sleeve nearby, and never grab a handle without thinking. A pan full of food is also very heavy. Use two hands and clear your path.
Kosher note
Cast iron absorbs flavour and fat in practice, so in a kosher kitchen keep separate pans for meat and dairy, and mark them so they don’t get mixed up. If a pan has crossed over, ask your rabbi whether and how it can be kashered; the answer depends on how it was used, and communities differ. See Kosher Basics.